KAAMOS is now only 10 days away from competing at LinCon. Let’s continue the little behind-the-scenes series. This time, we move on to two of the most tangible parts of the game: the boards and tiles.
Shapes That Tell a Story
From the very beginning, I knew I wanted the shape of the components to reflect the theme. I designed each tile and token to feel like it belonged in the snowy wilderness from Sapmi, not just visually, but also under the fingers.
from a fell-shape personal player board to a snowflake shaped scoring tiles holder, no component is the standard board game piece.
I opted to design the game around personal player board and area. Having each player manage their own space makes everything much easier for blind and partially sighted players: you place your pieces where you want, and nobody else will move these around, so you can easily find them back. Well, most of the time at least, for sighted people trying to play with a blindfold, space management sometimes turns out much more challenging than expected!

The Snowflake That Melted (and Shrunk, and Grew, and Changed Shape…)
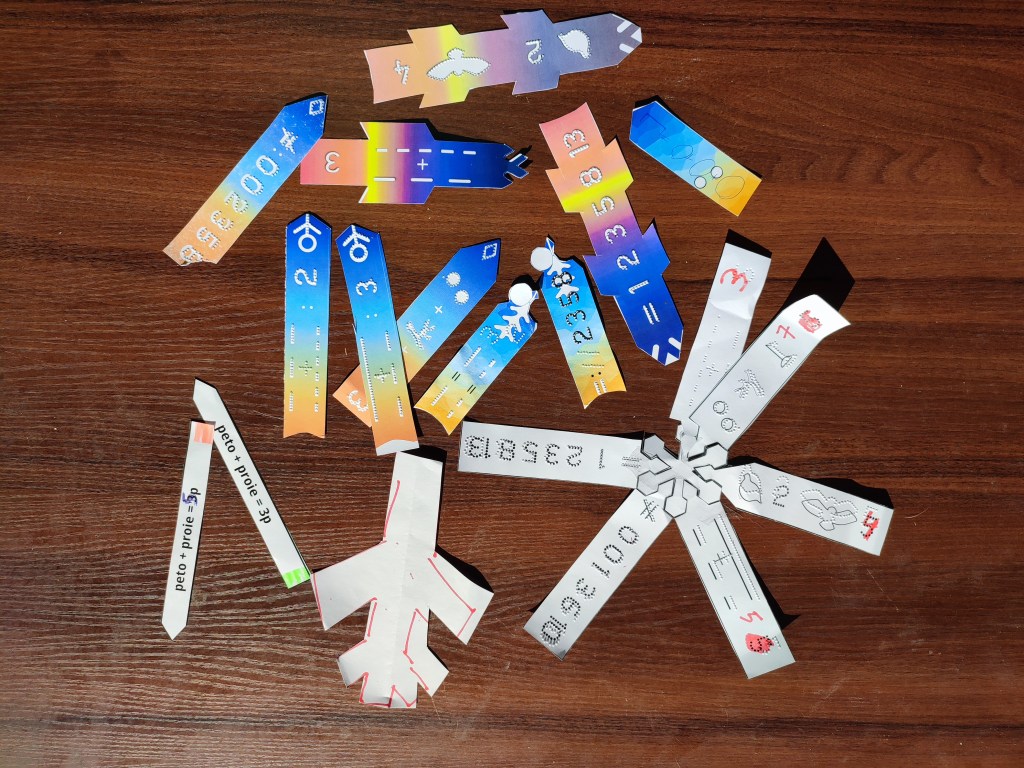
The scoring system is tracked using unique, individual tiles — a design inspired partly by the long tiles in Azul: Stained Glass of Sintra. I knew from the start I wanted the feeling of a snowflake slowly melting and transforming into rays of sunshine. This might have been the component I ended up creating the most versions of. On one side, it had to attach somewhere, either to the playing board, to each other, or to an additional piece. On the other end, it had to be secured to look like sprays behind the fell-shaped player board, but also stay securely in place there.
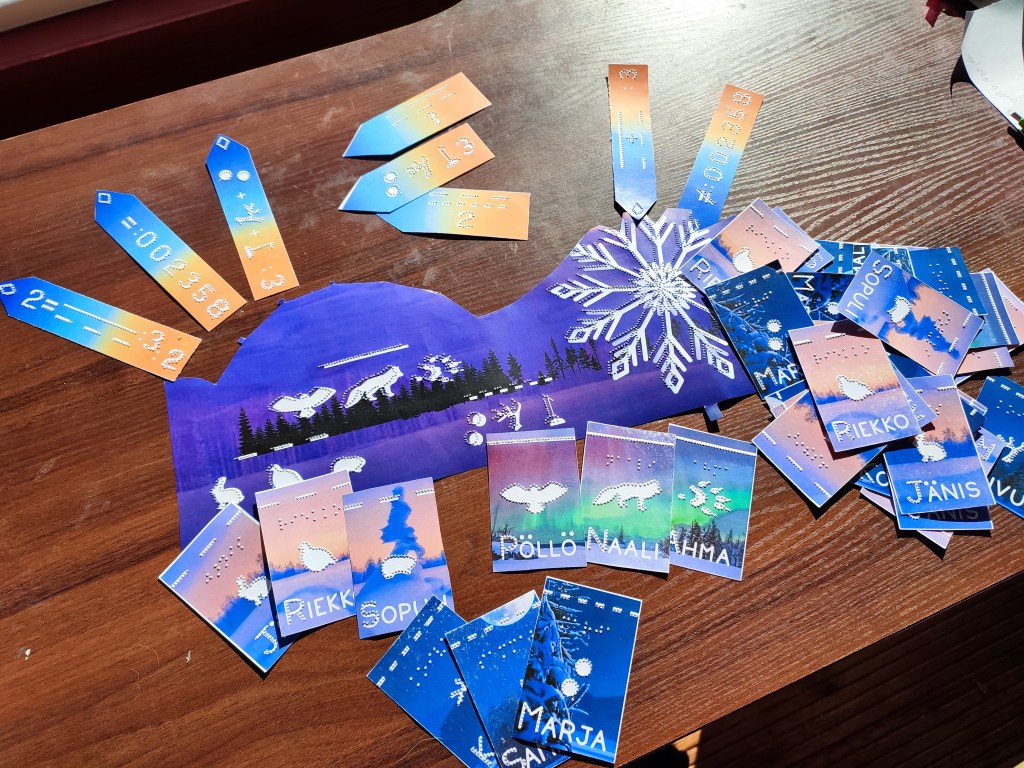
Originally, the snowflake was part of the player board itself. It looked nice, but the space it took on the table was just too much. So I moved to a freestanding piece — at first a simple pointed rectangle, which worked fine but felt a bit dull. Then came a more dramatic version with side branches, which looked great but turned out way too large to be practical. After much back-and-forth, I found a sweet spot: a shape that was small enough to fit on the table, but still large enough for the needed embossing
Scoring without Seeing
There are plenty of ways to track scores in board games: classic score tracks with little meeples, notepads and pens, sliders, or piles of victory tokens.
For this game, pen and paper was out of the question from the very beginning. I initially considered a tactile score track with animal-shaped markers — one for each of the six playable animals. But it quickly became clear that this would push up the production cost significantly. A tactile track would require a double-layered board to keep the pieces from sliding around accidentally, which just was not practical.
I also briefly explored using sliders on individual player boards, but those proved fiddly and difficult to use in practice.
The solution I settled on was tokens. They added more components, but they were easy to handle and intuitive for everyone. Still, there was one big drawback: counting up to 70 or 80 points at the end of the game was a bit of a chore, especially after a fast-paced and exciting session. It felt anticlimactic.
Then, during a brainstorming session with fellow SAGA designers, one idea changed everything. Daniel (thank you!) suggested flipping the system: instead of gaining points throughout the game, players could lose them — and the winner would be the one who had lost the most by the end. That clicked instantly.
It was a perfect thematic fit, too. Players now start the game with a fixed set of winter tokens — tactile, snowflake-shaped pieces placed on their personal boards. As the game progresses, these tokens are removed and returned to a pouch, representing the slow melt of winter as spring approaches. At the end of the game, players simply count how many winter tokens are left on their boards. The fewer you have, the more points you’ve ”lost” — and the closer you are to winning.

Less counting, better immersion, and a system that works beautifully for all players, sighted or not.
Laser Cutting: Hot, Precise, and a Bit Sooty
The next stage was production. I was working with two layers for most components: a printed and embossed sheet, and a backing made of punchboard. In an ideal world, I would have laser cut them both at once — but first, I needed to make sure it was even safe.
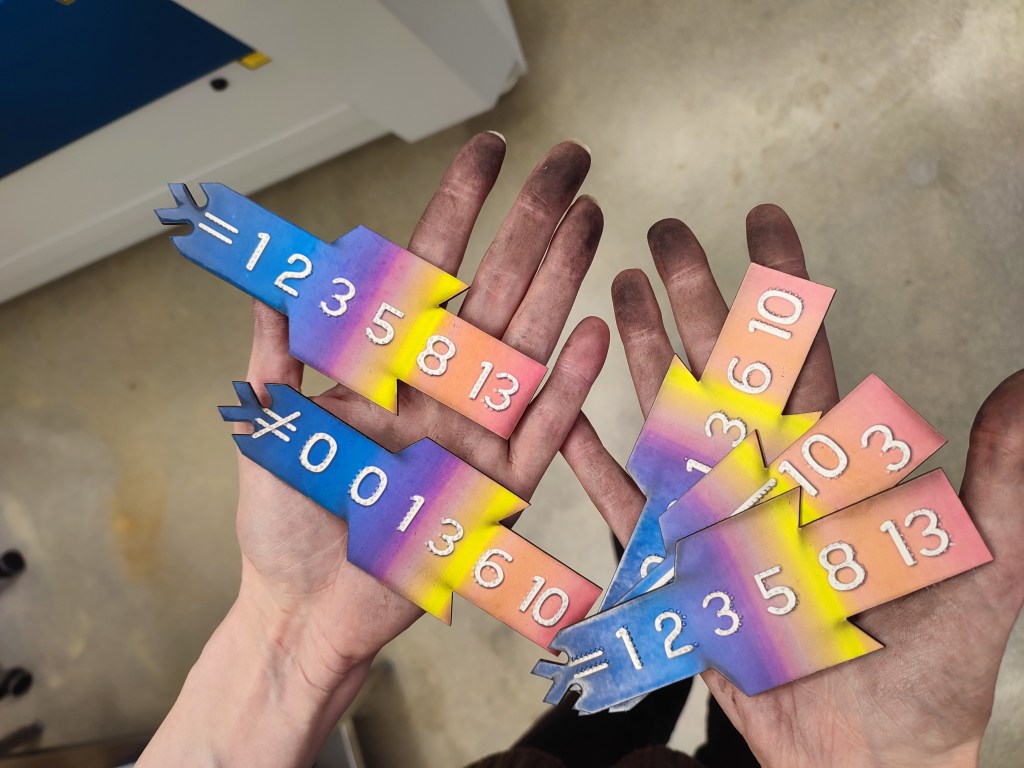
Some plastics release toxic fumes when heated, and unfortunately, I didn’t have precise information about the material composition or adhesive used in my sheets. Thankfully, there is a quick-and-dirty test for this: go outside, burn a strip, and check the color of the smoke. If it’s green, stop immediately. If not, you’re good to go. Mine passed! No green smoke — just that campfire smell -still with a tinge of plastic.

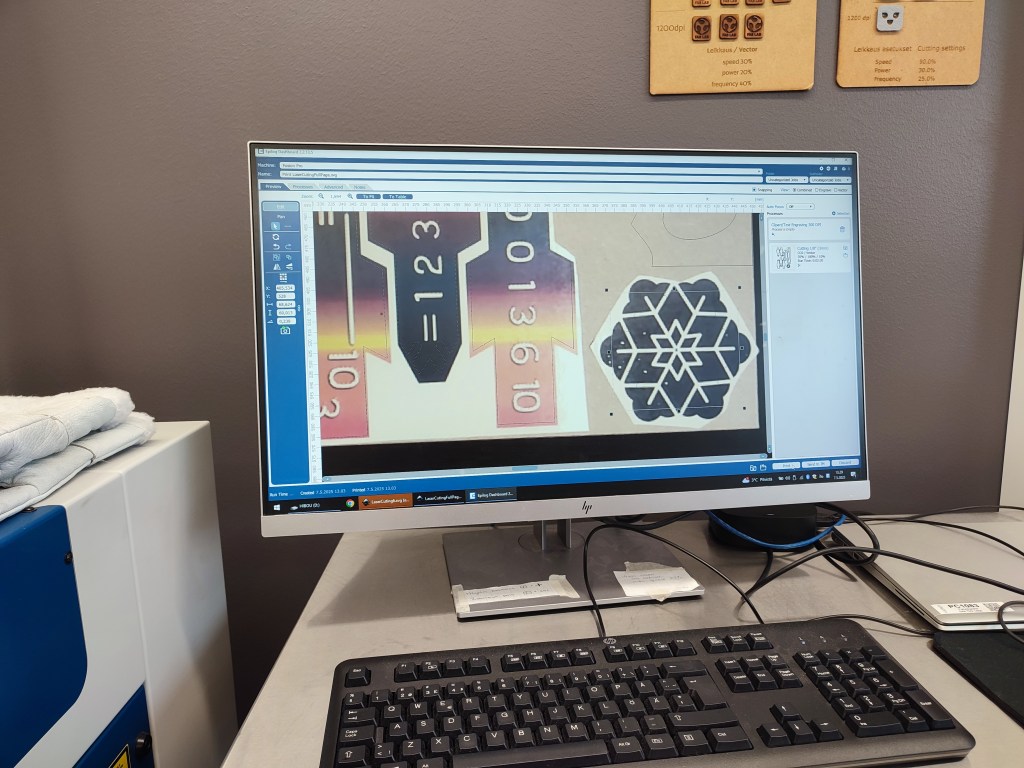
Once the test was done, I glued the sheets onto the punchboard and took everything to the laser cutter at the local Fablab. Huge thanks to them for letting me use their space, and special thanks to Päivi, who made sure the patterns and cutlines were perfectly aligned.
After several hours of careful work (and a growing pile of laser-charred edges), I ended up with all 120 components, crisp and clean. Well — almost clean.
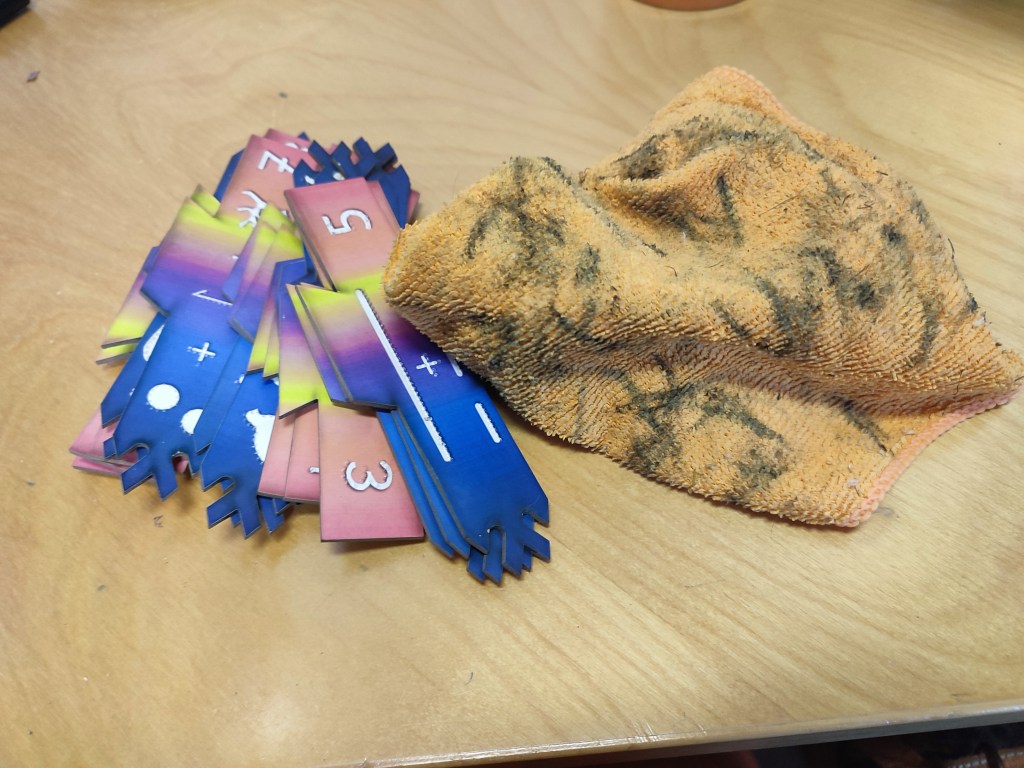
Coming Next: Tokens, Bags, and the Final Touches
Stay tuned for the next part, where I’ll go over the final small elements that bring everything together: the tokens, the storage bags, and some final production choices that made a big difference. Thanks again for following along this journey!

Jätä kommentti